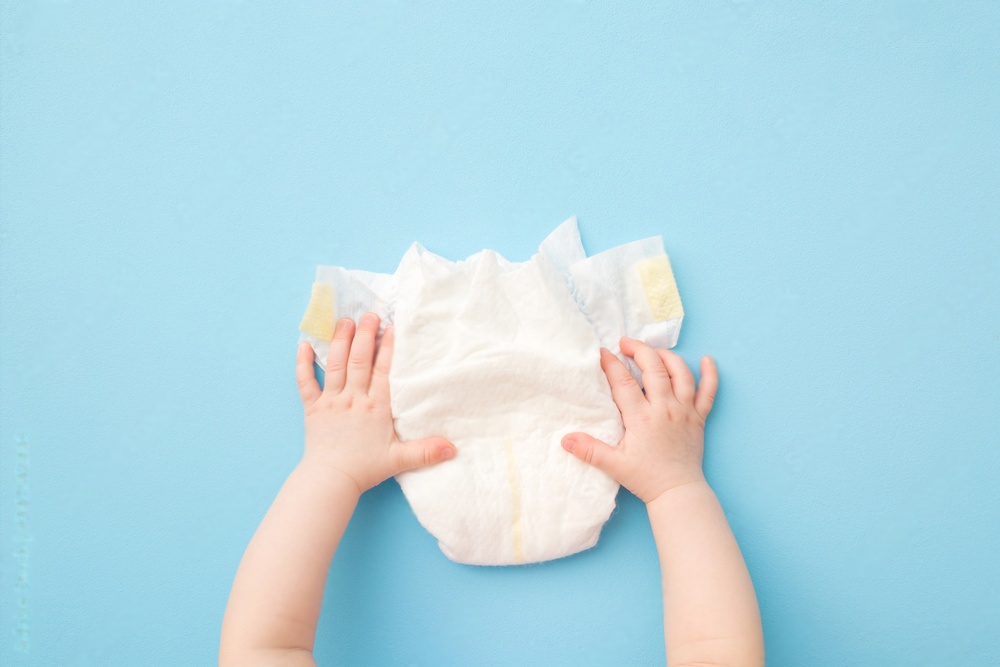
In our step-by-step guide titled “How to clean a baby changing pad,” we understand that as parents, we want the best for our little ones. One essential item that we rely on daily is the baby changing pad. It provides a safe and comfortable space for diaper changes. However, we also know that accidents happen, and cleaning the changing pad is a necessary task. That’s why we have created this guide to help you navigate the process with ease and empathy. So, let’s dive in and learn how to keep your baby changing pad clean and hygienic!
Gather necessary supplies
To gather the necessary supplies for cleaning, collect a clean cloth or paper towel, mild soap or baby-safe detergent, warm water, and a spray bottle if desired. These items will help you effectively clean and maintain your belongings. Make sure to have them readily available before beginning the cleaning process.
Remove any debris
Inspect the baby changing pad for any solid waste or debris. If you notice any, use a disposable glove or clean cloth to remove it. Make sure to dispose of the waste properly.
Prepare the cleaning solution
To prepare the cleaning solution, mix a small amount of mild soap or baby-safe detergent with warm water. You can do this in a bowl or use a spray bottle for convenience. Make sure to blend the ingredients well until they are fully combined. Remember, using a small amount of soap is important to avoid leaving any residue on the surface you are cleaning.
Apply the cleaning solution
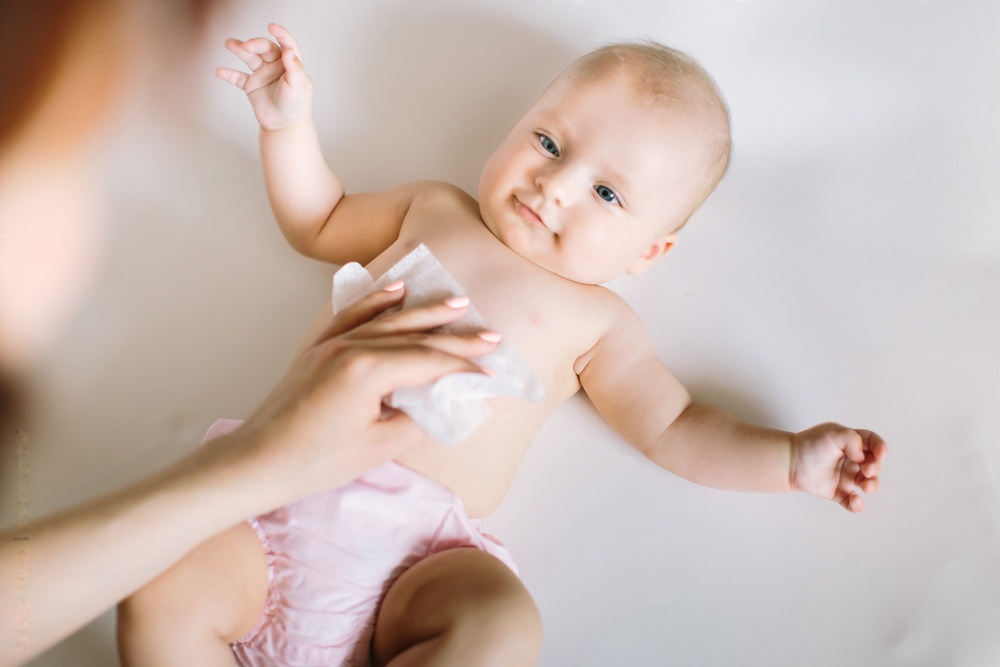
To apply the cleaning solution, start by dampening a cloth or spraying the cleaning solution directly onto the baby changing pad. Ensure that you cover all areas of the pad, including the corners and edges. For example, you can use a spray bottle to evenly distribute the solution or gently wipe the cloth over the surface of the pad. Remember to follow the instructions on the cleaning solution label for the best results.
Gently scrub the surface
To effectively clean the changing pad, start by using a damp cloth. With gentle pressure, scrub the surface, focusing particularly on any stained or soiled spots. By paying extra attention to these areas, you’ll be able to ensure a thorough and hygienic cleaning.
Rinse with clean water
To rinse the cloth or sponge with clean water and wipe down the entire surface of the changing pad, follow these steps:
- Fill a basin or sink with clean water.
- Submerge the cloth or sponge in the water and squeeze it to remove any excess water.
- Starting from one end of the changing pad, gently wipe the cloth or sponge across the entire surface, making sure to remove any soap residue.
- Rinse the cloth or sponge in the clean water after each wipe to ensure effective cleaning.
- Continue wiping down the changing pad until the entire surface is clean and free from soap residue.
Remember, it is important to rinse with clean water to ensure that all soap residue is removed and to maintain a hygienic changing pad.
Dry thoroughly
To dry the changing pad thoroughly, take a dry cloth or paper towel and gently pat it down. Ensure that every part of the pad is completely dry before using it again. This will help prevent any moisture buildup or bacteria growth, ensuring a hygienic and comfortable surface for your baby.
Sanitize if desired
If desired, sanitize the changing pad by following these simple steps:
- Choose a baby-safe disinfectant that is specifically designed for sanitizing surfaces used by infants.
- Spray the disinfectant evenly over the entire surface of the changing pad. Make sure to cover all areas, including the corners and edges.
- Allow the disinfectant to sit on the changing pad for the recommended amount of time as stated on the product label. This will ensure that any bacteria or germs are properly eliminated.
- Let the changing pad air dry completely. Avoid wiping or touching the surface during this time to prevent recontamination.
- Once the changing pad is completely dry, it is ready to be used again for your baby’s diaper changes.
Remember, sanitizing the changing pad is an optional step that you may choose to do if you desire an extra level of cleanliness.
Wash cloth or sponge
To clean the cloth or sponge used for cleaning the changing pad, start by rinsing it under running water to remove any loose dirt or debris. Next, apply a small amount of soap and lather it up by rubbing the cloth or sponge together. Rinse thoroughly to remove all soap residue. Alternatively, you can toss the cloth or sponge in the washing machine with a gentle detergent and wash it on a gentle cycle. Make sure to air dry or tumble dry on a low heat setting to prolong its lifespan.
Regular maintenance
To keep the baby changing pad clean and hygienic, repeat the cleaning process regularly by following the manufacturer’s instructions. Start by wiping down the pad with a mild soap and warm water solution using a soft cloth or sponge. Pay special attention to any stains or spills and gently scrub them away. Rinse the pad thoroughly with clean water and then pat dry with a towel. Remember to also clean the pad’s straps or fasteners, if applicable, using a mild detergent and a damp cloth. Regular maintenance will help ensure a safe and comfortable environment for your baby.
Tips for a spotless pad
In conclusion, regular cleaning is crucial to maintain a safe and hygienic baby changing pad. We have learned that using gentle cleaning solutions and wiping down the pad after each use can effectively remove dirt, bacteria, and odors. Additionally, it is important to thoroughly disinfect the pad at least once a week to ensure optimal cleanliness. By following these simple steps, we can provide a clean and comfortable environment for our little ones during diaper changes. Remember, a clean changing pad is a happy baby!
Essential Supplies
- Baby changing pad
- Disposable gloves
- Trash bag or bin
- Mild dish soap or baby-safe cleaning solution
- Warm water
- Soft cloth or sponge
- Clean towels or paper towels
- Sanitizing spray or wipes (optional)
- Washing machine (for cloth changing pad covers)
- Dryer or clothesline (for cloth changing pad covers)
- Regular cleaning schedule


Easy Cleaning Hacks
- Start by removing any soiled items or diapers from the changing pad
- Prepare a solution of mild soap and warm water in a clean bucket or basin
- Use a clean cloth or sponge to dip into the soapy solution, ensuring it is thoroughly soaked
- Gently scrub the surface of the changing pad, paying extra attention to any visible stains or spills
- Rinse the cloth or sponge in clean water and continue to wipe down the pad, removing any soap residue
- For stubborn stains, you can use a small amount of baking soda mixed with water to create a paste. Apply the paste to the stain, gently scrub, and rinse thoroughly
- Once the pad is clean, use a clean and dry towel to pat it dry, removing excess moisture
- If your changing pad has a removable cover, follow the manufacturer’s instructions for washing and drying
- To maintain hygiene, it’s recommended to sanitize the changing pad regularly. You can do this by using a disinfectant spray or wipes that are safe for use around babies
- Lastly, ensure the changing pad is completely dry before using it again to prevent any mold or mildew growth
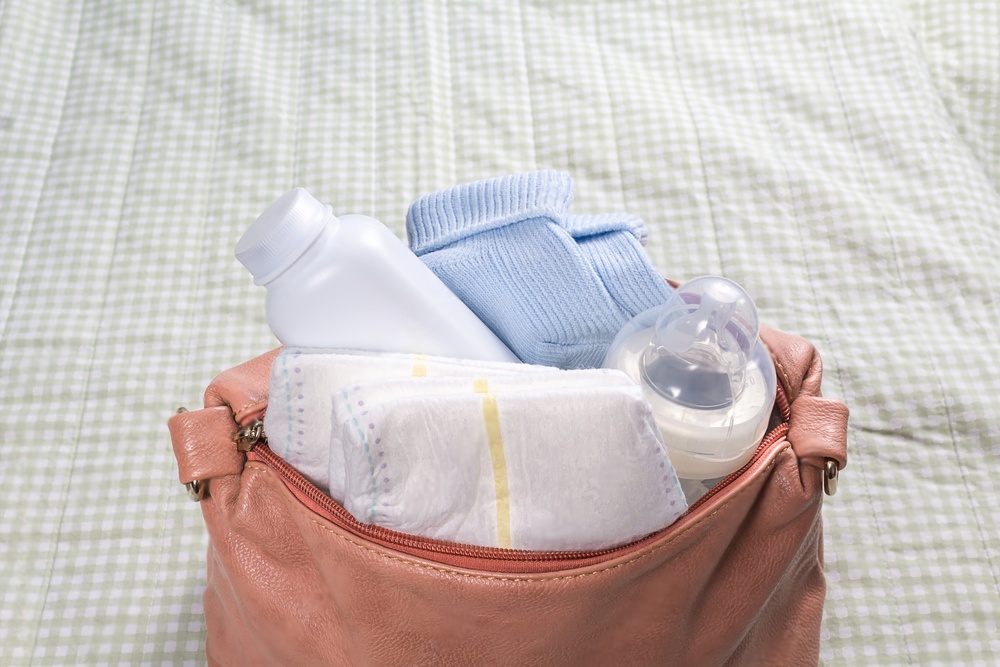
Step-by-step guide to using essential baby changing products
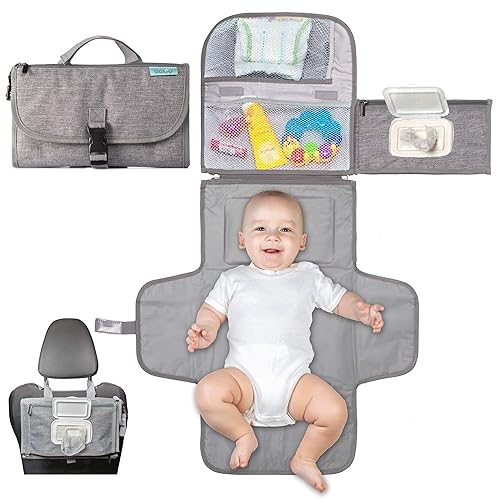
- Find a clean, flat surface like a changing table or a padded mat
- Place a changing pad or towel on the surface for added comfort and easy cleanup
- Keep all the necessary supplies within arm’s reach, such as diapers, wipes, diaper rash cream, and a change of clothes
- Lay your baby on their back and unfasten the soiled diaper
- Use wipes or a wet cloth to clean the diaper area thoroughly, wiping from front to back for girls
- Lift your baby’s legs and slide a clean diaper under their bottom, ensuring the tabs are at the back
- Secure the diaper snugly but not too tight, making sure it covers the baby’s bottom and waistline
- After cleaning and drying the diaper area, apply a thin layer of diaper rash cream to prevent irritation and rash
- Gently spread the cream on the baby’s bottom and any other areas prone to redness or irritation
- Be sure to wash your hands before and after applying the cream
- Roll up the soiled diaper and secure it closed with the adhesive tabs, containing any mess or odor
- Place the used diaper in a diaper pail or a sealed plastic bag to minimize odor and maintain hygiene
- Dispose of the sealed diaper bag in an appropriate trash bin or follow your local waste disposal guidelines
- Remember, practice makes perfect, and with time, you’ll become more comfortable and efficient in changing your baby’s diaper
Essential information about baby changing necessities
What are the pros and cons of using cloth diapers versus disposable diapers?
When considering the choice between cloth diapers and disposable diapers, there are several pros and cons to consider. Let’s weigh the advantages and disadvantages of each option:
Cloth Diapers
Pros:
- Cost-effective: Cloth diapers can save you money in the long run, especially if you plan on having multiple children.
- Environmentally friendly: Cloth diapers produce less waste and reduce landfill contribution.
- Fewer chemicals: They are made from natural fabrics, reducing the exposure to potentially harmful chemicals found in disposable diapers.
- Less diaper rash: Cloth diapers, when changed frequently, can help prevent diaper rash due to increased breathability.
Cons:
- Increased laundry: Using cloth diapers means more frequent washing, which can be time-consuming and require additional effort.
- Initial investment: Cloth diapers require an upfront cost for purchasing the diapers and necessary accessories.
- Limited convenience: When outside the home, carrying soiled cloth diapers can be less convenient than disposing of disposable diapers.
Disposable Diapers
Pros:
- Convenient: Disposable diapers are easy to use, especially when traveling or away from home.
- Time-saving: No need to wash or dry, simply toss away after use.
- Absorbency: Disposable diapers typically have greater absorbency, reducing the chance of leaks.
Cons:
- Expense: Disposable diapers can be more costly, especially when used long-term or for multiple children.
- Environmental impact: Disposable diapers contribute to landfill waste and take a long time to degrade.
- Chemical exposure: Some disposable diapers may contain chemicals that can irritate sensitive skin or cause allergies.
What are some signs that indicate it might be time to transition from diapers to potty training?
When it comes to transitioning from diapers to potty training, there are a few signs to look out for that can indicate your child may be ready. These signs may vary from child to child, but here are some common indicators:
- Increased bladder control: If your child can stay dry for longer periods, especially during naps or overnight, it may be a sign that their bladder muscles are developing and they might be ready for potty training.
- Awareness of bodily functions: If your child starts to express discomfort or awareness when they have a wet or soiled diaper, it could be a sign that they are recognizing the sensation of needing to go to the bathroom.
- Regular bowel movements: If your child tends to have predictable bowel movements, it can be a good time to introduce potty training. This can make it easier for them to understand the connection between the urge to go and using the potty.
- Showing interest in the bathroom: If your child starts showing interest in the bathroom or imitates family members using the toilet, it may be a sign that they are ready to start their potty training journey.
- Communication skills: As your child develops their language skills, they may start to communicate their needs more effectively. If they can express their need to use the bathroom or understand simple instructions related to potty training, it can be a positive sign.